In order to fully understand, you'd have to see the before...and while I KNOW I took pictures, I cannot find them ANYWHERE! BUT... I do have the pictures from when we were buying the house, so while its not our stuff in the bathroom, the bones are the same.
This is my husbands intended side of the bathroom...notice all the BRASS?!

This is my intended side, look at all that wallpaper?!!


Even brass surround closet mirrored doors...yuck...have I mentioned that I'm not a brass person???

So shortly after moving in we started to tackle the major project of the master bath. It was easy to start, the wallpaper was basically peeling in spots and was tempting to rip off. Even the little one liked getting in on the action!


Look how short her hair was then!! That was just a few months ago!! And just in case your wondering, she'd apparently been playing in Mommies closet before this since that's one of my shirts she's sporting toga style over her pj top :)
The first step was to pull down the wall paper, what a beating that was. Even though it was peeling around the edges it was firmly stuck in other areas and there was a LOT of it!!
Here's a decent shot of what we were working with, probably original to the house. We took down the contractor grade mirrors and got to work pulling it all down.

Once we got the wallpaper off and cleaned the mess we had to Kilz the walls to prime and protect them. Then we had to tackle the job of texturing them. We weren't comfortable with the idea of spraying it ourselves (and the aerosol options were so strong we tried one small section and were forced out of the house for the rest of the day!!) so we did the Behr premixed texture and rolled it on with a textured roller and then knocked it down with a putty knife. Once the walls were ready to go were able to paint and finally had some semi normal looking walls again! It was a process to be sure! We also replaced the brass faucets with oil rubbed bronze faucets (very easy to do, hubs did it himself!). We later replaced the contractor grade mirrors with framed mirrors from Hobby Lobby (they were 50% off and I was sooo excited the day I found them). And since you know I couldn't stand the brass, we took down the mirrored closet doors, taped them off and spray painted the surrounds with a Rust-oleum Oil Rubbed Bronze metallic spray paint. While we had the spray paint out we also painted the light fixtures and air vent. We may have been spray paint happy, but I like the way it turned out, lol. We eventually couldn't stand that the shower surround was also brass so we taped it off and painted it with a Rust-oleum Painters Touch, Oil Rubbed Bronze metallic paint. This actually worked incredibly well, it took a little trial and error not to drip and definitely took two coats,but the shower surround looks fantastic!! Finally we added a shower curtain rod and two curtain panels at the bath tub to add color and texture. We didn't put the swinging saloon doors back up because we like the openness and light that came from the toilet room without them.
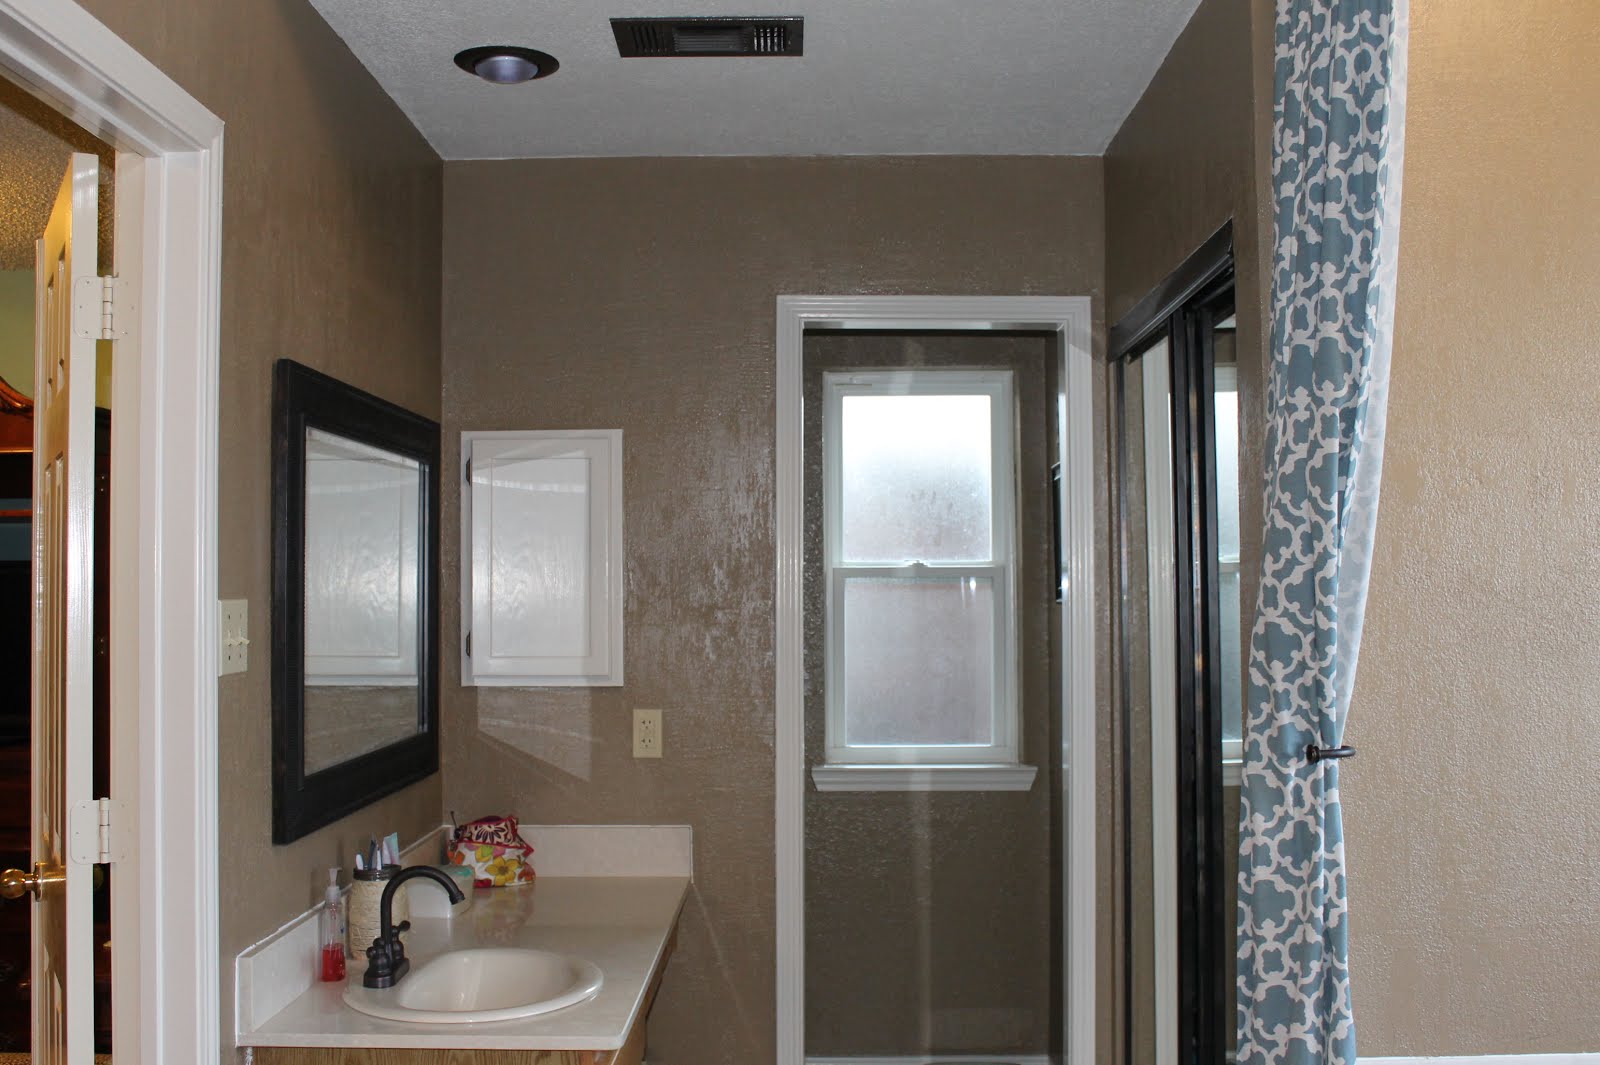
Entrance to our made-over master bath

Here is my husbands side. No more brass!!!

My side. I like that we didn't put the swinging saloon doors and have more natural light from the toilet room. It also feels bigger in that area!
Images of the mirrored closet doors finished.


The last lone piece of brass in our bathroom is here on the bathtub. I will likely tape off the faucet and use the Rust-Oleum paint (not the spray) and get rid of it, but I haven't had the guts yet...I'm a little nervous I'd just make it worse...although, in my opinion...it couldn't be by much! LOL

We still have some work to do. We'd eventually like to add some crown molding (like most of the rest of the house that is begging for it), we will need to refinish the cabinets and eventually the tile will need replaced. But it is MUCH better than it was when we moved in. This was our first big project we tackled when we bought the house and we learned a lot from it. There are some things we'd like to have done just a little differently but nothing that was a huge oops, lol!
And just in case you're wondering, I wasn't given any perks for suggesting Kilz or Rust-oleum products, its just what we used and really liked. I'm a huge Rust-oleum fan! Everything looks as good as when we finished it, even if its only been a few months but its a really inexpensive way to change the look of your space and its easy to work with.
Love it! The transformation is amazing!
ReplyDeleteWhoo Hoo the best part, I noticed a make-up mirror!! Gigi is in action on that one. Looks great sweetie!
ReplyDelete